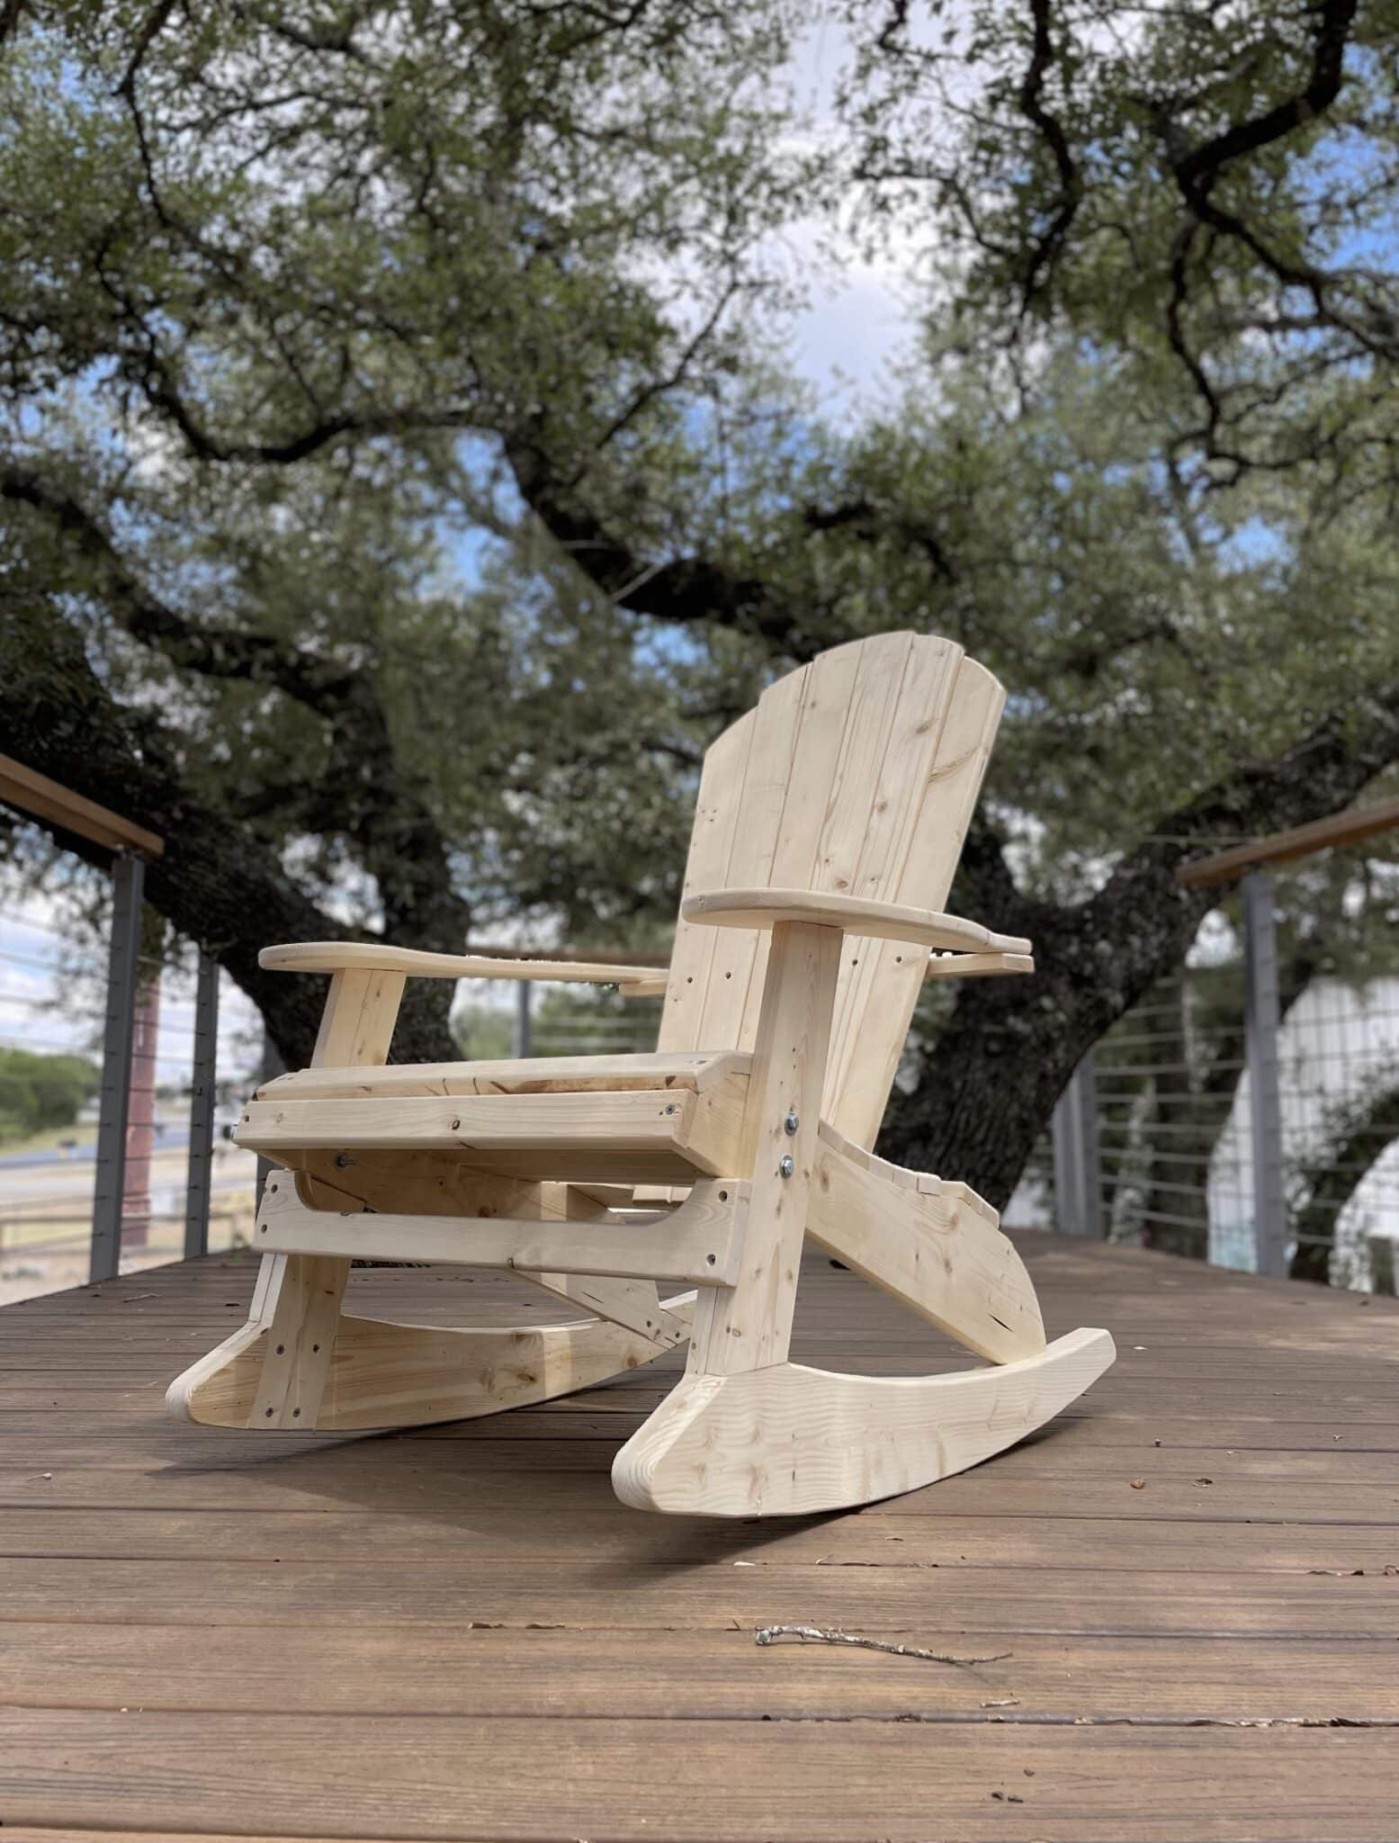
Adirondack rocking chairs are iconic pieces of outdoor furniture, known for their classic design, ample comfort, and relaxing sway. If you’re a DIY enthusiast looking to add a touch of rustic charm to your backyard or patio, building your own rocking Adirondack chair is a rewarding and satisfying project.

- Gathering Materials and Tools
Before embarking on your woodworking adventure, ensure you have the necessary materials and tools at hand. The exact quantities will vary depending on the specific chair design you choose, but here’s a general breakdown:

- Wood: 2×6 boards (for seat supports), 1×4 boards (for seat slats, back supports, arms, and rockers), 1×2 boards (for stretcher and decorative trim)
- Hardware: Deck screws, carriage bolts, nuts, washers
- Tools: Circular saw, tape measure, pencil, drill, screwdriver, sandpaper
- Creating the Seat Support and Seat Slats
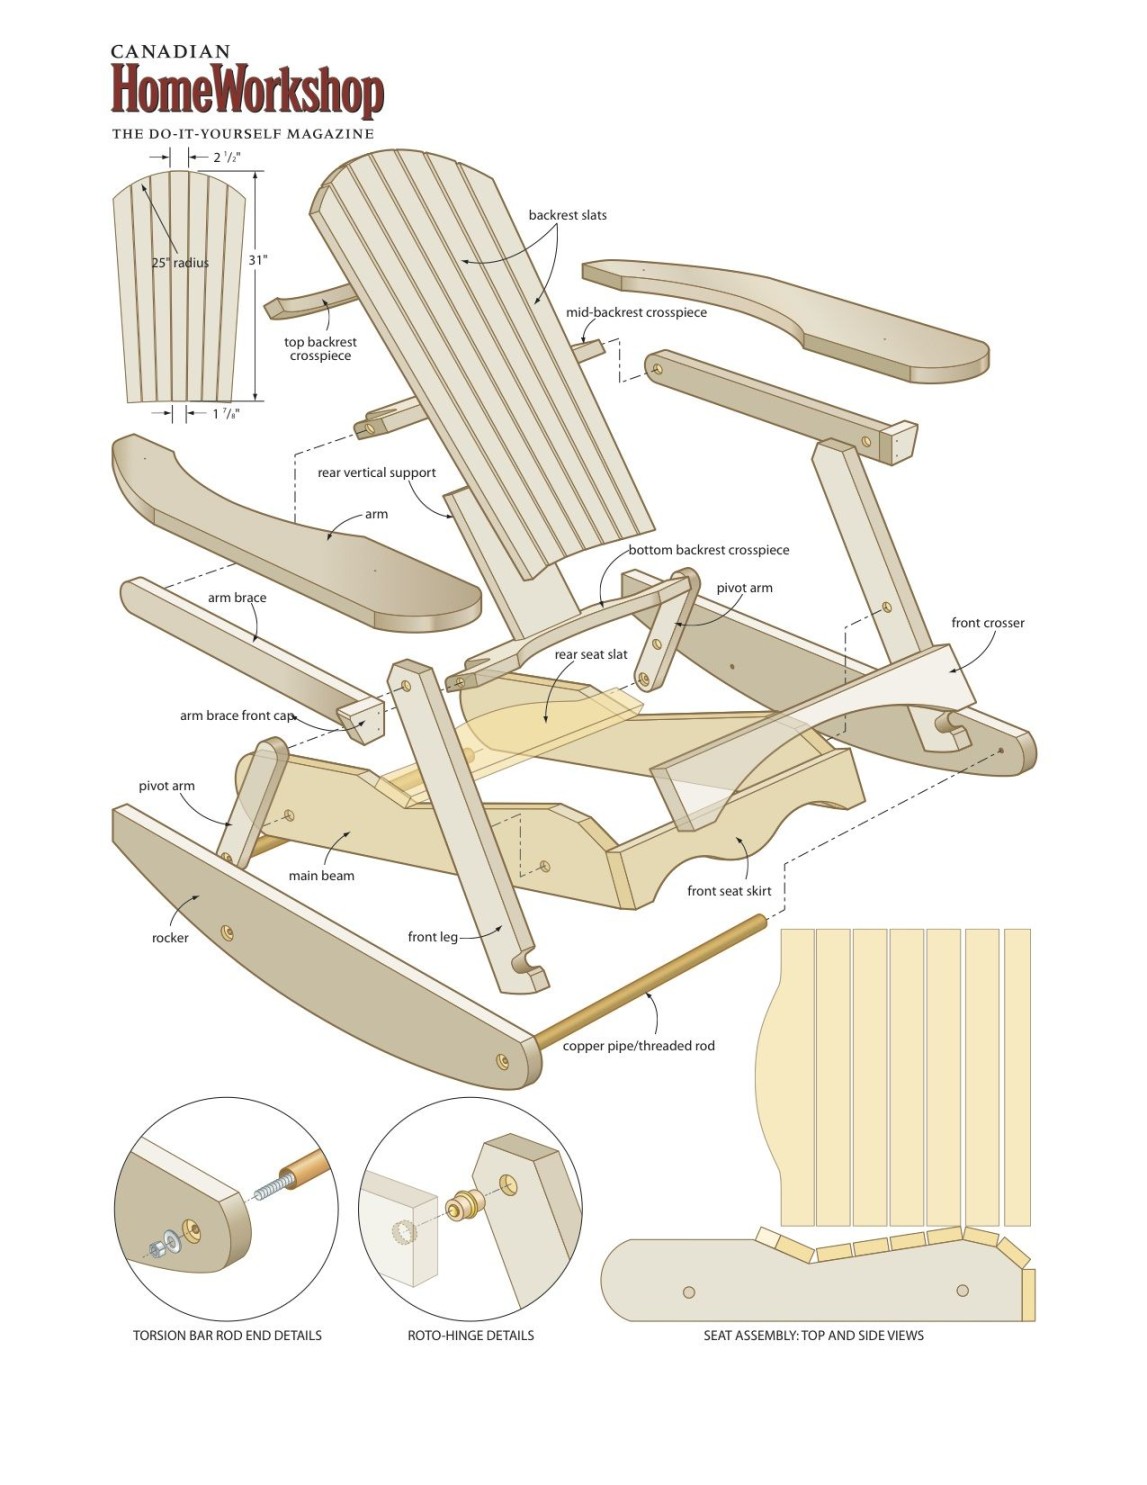
The seat support forms the foundation of the chair, providing support for the seat slats and the overall structure. Cut two 2×6 boards to 3′ 2″ in length. Use a jigsaw or bandsaw to cut out the seat support pattern, ensuring the corners are square and the edges are smooth.
Next, cut seven 1×4 boards to 2′ in length for the seat slats. You can customize the number of slats to adjust the seat depth and comfort level. Predrill pilot holes and attach the slats to the seat support using deck screws.
- Attaching the Back Supports
The back supports provide the chair’s reclined backrest and enhance its structural integrity. Cut two 1×4 boards to 2′ 10″ in length for the top back support rail. Cut two 2×4 boards to 3′ 3″ in length for the rockers. Trace and cut the back support patterns onto the 2×4 boards.
Attach the top back support rail to the rear legs using deck screws. Then, attach the rockers to the frame using carriage bolts, nuts, and washers.
- Adding Arms and Decorative Trim
The arms provide additional support and enhance the chair’s overall aesthetic. Cut two 1×6 boards to 2′ 10″ in length for the arms. Drill pilot holes and attach the arms to the top back support rail and the side seat supports using deck screws.
To add a decorative touch, cut two 1×4 boards to 1′ 9″ in length for the top back support rail. Drill pocket holes along the side and top edges and secure them to the structure using 1 1/4″ screws.
- Completing the Assembly and Finishing Touches
Once all the major components are assembled, check for any gaps, misalignments, or loose screws. Tighten any screws and sand down any rough edges or splinters until the chair feels smooth and comfortable.
For a more polished finish, apply wood stain or paint to match your outdoor décor. Allow the stain or paint to dry completely before enjoying your newly crafted rocking Adirondack chair.
- Additional Tips
Choose high-quality lumber for durability and longevity.
- Use a steady hand when cutting and assembling to ensure accuracy and stability.
- Follow safety precautions when operating power tools.
- Wear protective gear, such as gloves and eye protection.
- Take breaks as needed to avoid fatigue and ensure a safe and enjoyable woodworking experience.

