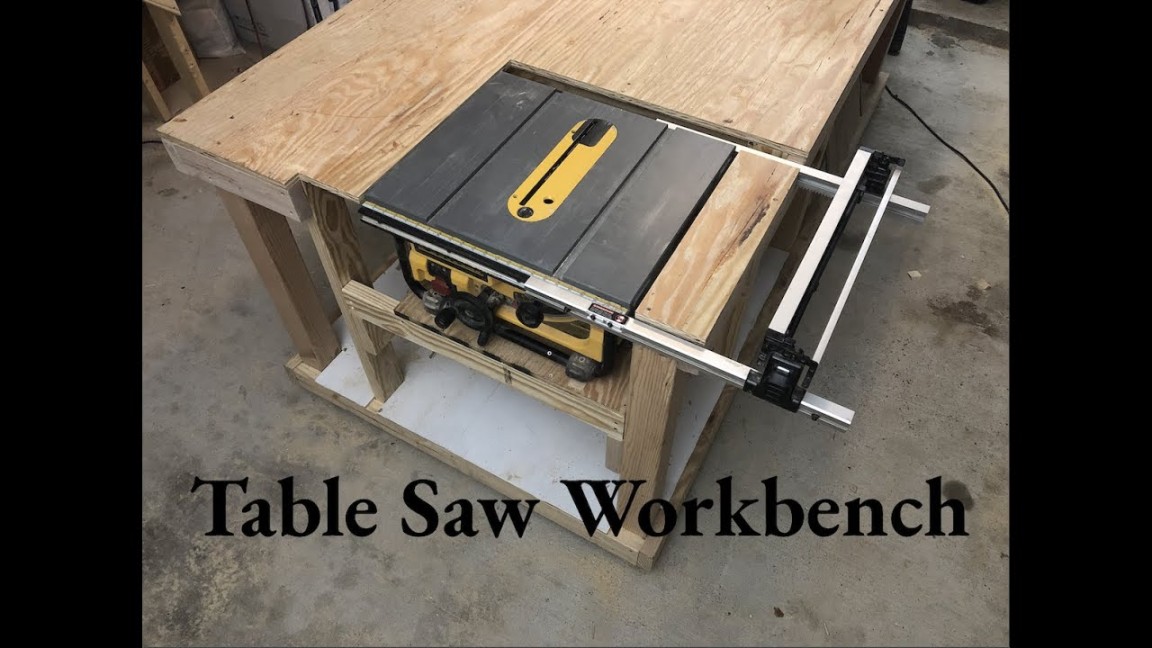
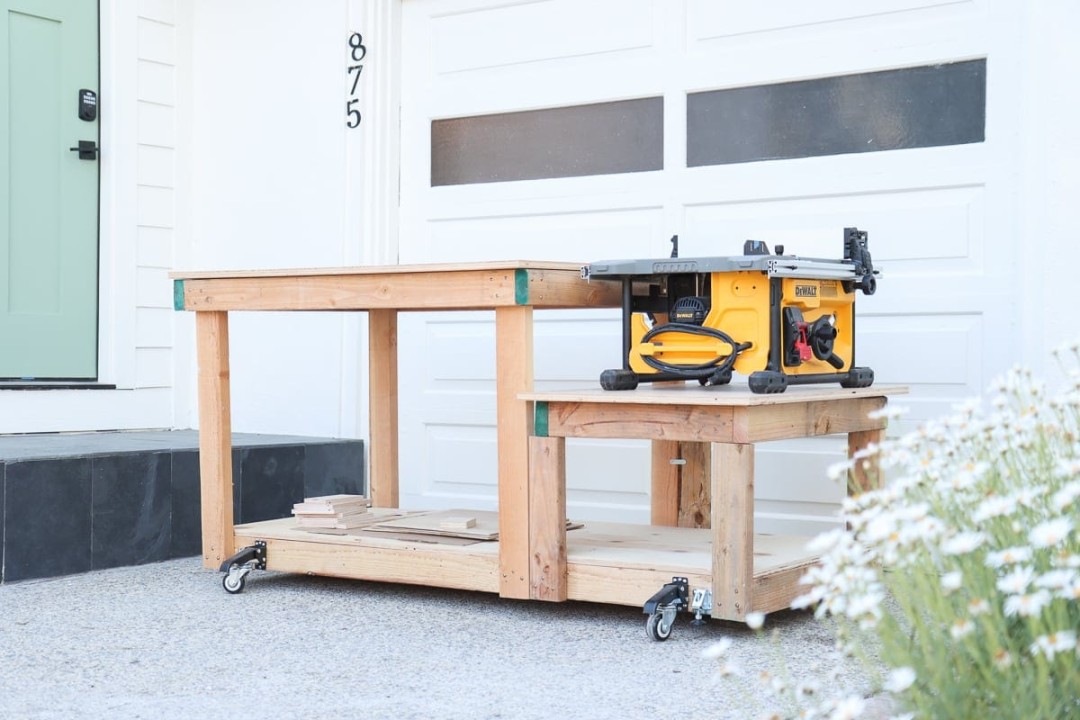
A table saw bench is an essential tool for any woodshop, providing a stable and sturdy surface for making precise cuts. While there are many commercial table saw benches available, building your own can be a rewarding and cost-effective project. In this guide, we will walk you through the process of building a homemade table saw bench from start to finish.

- Planning and Materials
Before you start building, it is important to take some time to plan your bench. Consider the size of your table saw and the amount of workspace you need. You will also need to decide on the type of materials you want to use. Popular choices include plywood, MDF, and hardwood.

- Here is a list of the materials you will need to build a basic table saw bench:
2x4s (for the frame)
- Plywood (for the top)
- MDF (for the back and sides)
- Hardwood (for the edging)
- Screws and nails
- Clamps
- Level
- Square
- Building the Frame
The frame of your table saw bench is the foundation of the entire structure. It should be sturdy and stable to support the weight of the table saw and the workpieces. To build the frame, you will need to cut the 2x4s to the appropriate lengths.
- Here are the steps to build the frame:
1. Cut the 2x4s to the following lengths:
- 2 x 42 inches
- 2 x 30 inches
- 2 x 24 inches
- 2 x 18 inches
2. Lay the 42-inch pieces on the ground to form a rectangle. Attach the 24-inch pieces to the sides of the rectangle using screws or nails.
3. Attach the 30-inch piece to the top of the frame to create a tabletop platform.
- Building the Top and Back
The top of your table saw bench should be flat and level to provide a stable surface for cutting. The back of the bench should be sturdy and secure to prevent the bench from tipping over.
- Here are the steps to build the top and back:
1. Cut the plywood to the following dimensions:
- 42 inches x 30 inches (top)
- 42 inches x 24 inches (back)
2. Attach the plywood to the frame using screws or nails. Make sure the plywood is level and square.
3. Cut the MDF to the following dimensions:
- 42 inches x 6 inches (back edging)
- 42 inches x 2 inches (top edging)
4. Attach the MDF edging to the top and back of the bench using glue and brad nails.
- Adding Hardwood Edging
Hardwood edging provides a durable and attractive finish to your table saw bench. It also protects the plywood from scratches and dents.
- Here are the steps to add hardwood edging:
1. Cut the hardwood to the same dimensions as the MDF edging.
2. Attach the hardwood edging to the MDF edging using glue and brad nails.
- Finishing Touches
Once your table saw bench is built, you can add any finishing touches you like. You can paint or stain the bench to match your workshop décor. You can also add casters to make the bench easier to move.
- Tips for Building a Homemade Table Saw Bench
Use high-quality materials to ensure the bench is sturdy and durable.
- Take your time and follow the instructions carefully.
- Use clamps to keep the pieces aligned and secure.
- Sand the bench thoroughly before staining or painting.
- Conclusion
Building a homemade table saw bench is a rewarding project that can save you money and provide you with a custom-made workspace that meets your specific needs. By following the instructions in this guide, you can build a sturdy and functional table saw bench that will last for years to come

