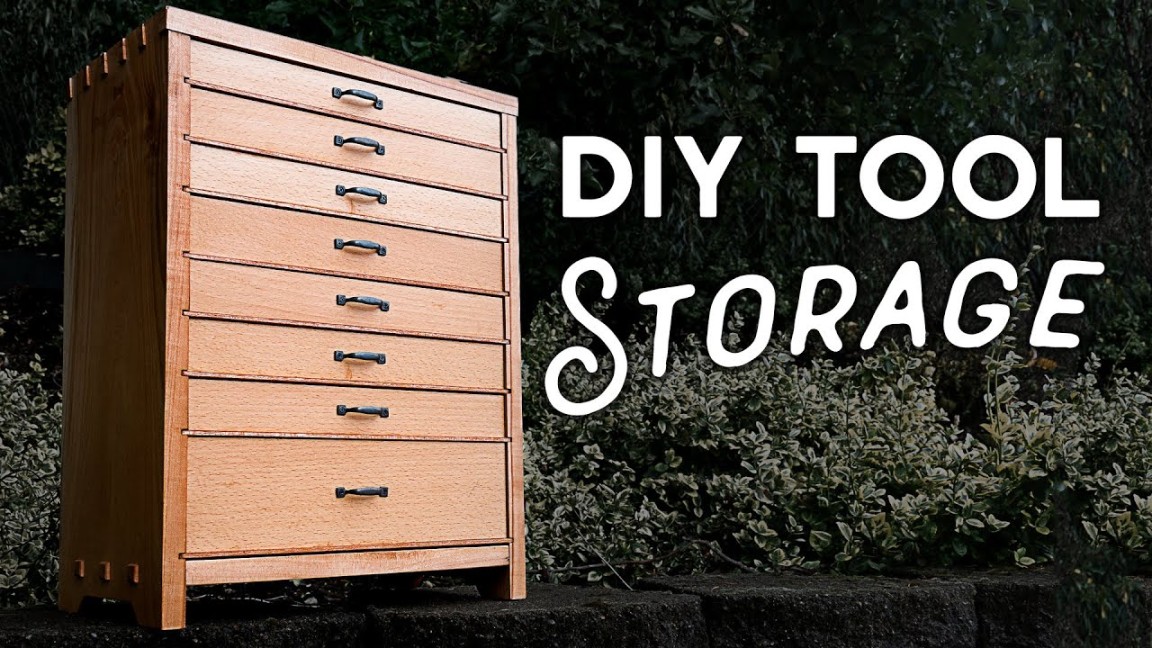
Creating your own wood tool chest can be a rewarding and practical project for any DIY enthusiast. Not only does it provide a stylish and functional storage solution for your tools, but it also allows you to customize the design to fit your specific needs. Here’s a step-by-step guide to help you create your very own DIY wood tool chest.

First, gather all the necessary materials and tools. You will need wood boards, screws, wood glue, a saw, drill, measuring tape, and sandpaper. Choose a durable and sturdy wood, such as oak or pine, for the chest to ensure longevity and strength.
Next, measure and cut the wood boards to the desired dimensions for the chest. You will need to cut pieces for the bottom, sides, back, front, and lid of the chest. Use a saw to make precise cuts, and sand the edges to smooth out any rough surfaces.
Assemble the chest by attaching the sides, back, and front pieces together using wood glue and screws. Make sure to pre-drill holes to prevent the wood from splitting. Once the main structure is assembled, attach the bottom piece to complete the box shape.
To create the lid, measure and cut a piece of wood that is slightly larger than the top opening of the chest. Attach hinges to the back of the lid and the top of the chest to allow for easy opening and closing. You can also add a latch or handle for added convenience.
Finally, sand the entire chest to smooth out any rough spots and apply a coat of wood stain or paint to enhance the appearance and protect the wood. Once the finish is dry, your DIY wood tool chest is ready to be filled with your favorite tools and placed in your workshop for easy access.
Creating your own DIY wood tool chest is a fun and practical project that allows you to showcase your woodworking skills while also providing a functional storage solution for your tools. By following this step-by-step guide, you can create a customized and durable chest that will serve you well for years to come.

